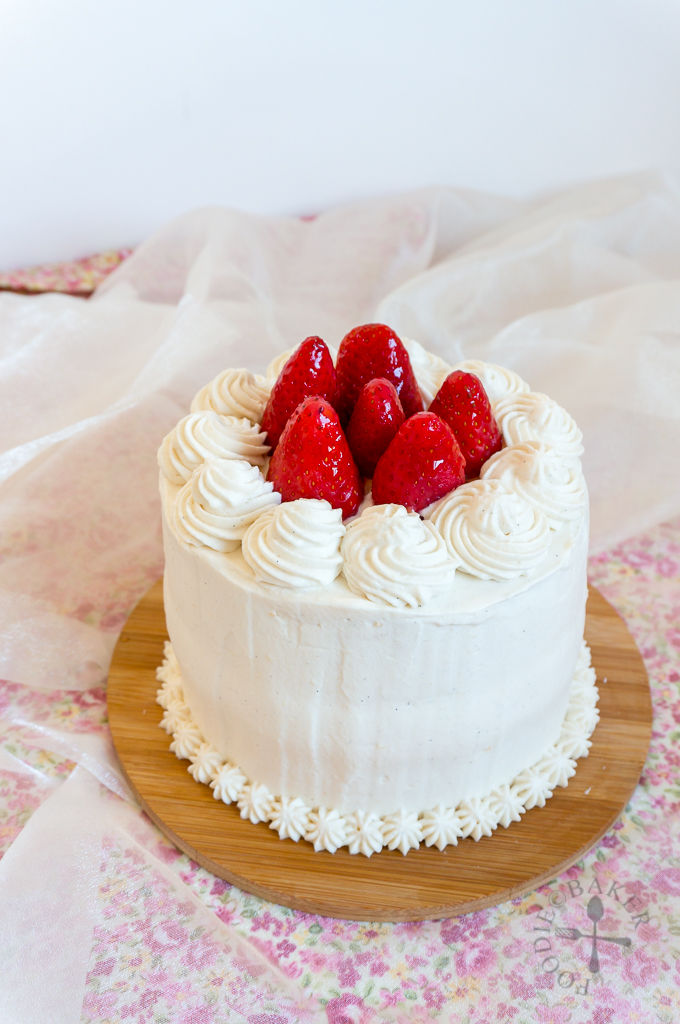
Taking a break from Chinese New Year baking and diving into Valentine’s Day baking – Japanese Strawberry Shortcake! Okay not really because I don’t even celebrate this day in the first place… oops! The reason why I’m baking this cake is because the theme of Bake-Along’s this time round is Strawberry Shortcake and since strawberry is in season here right now, there is just no excuse to not bake this delicious and beautiful-looking cake.
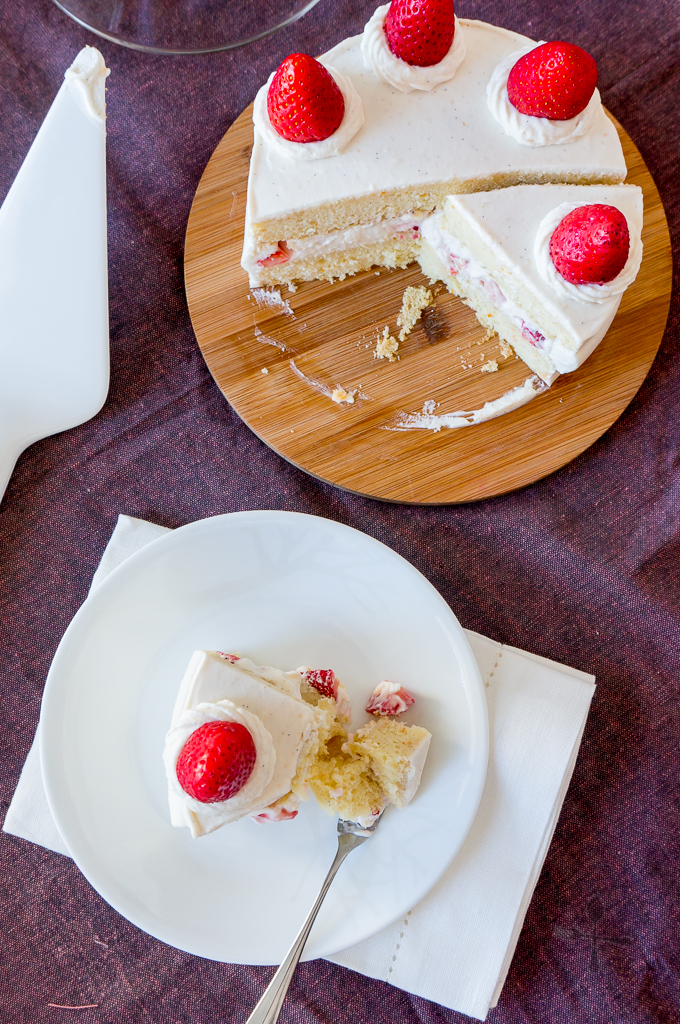
Whenever I read Strawberry Shortcake in an article or anywhere else, I’ll always think of the Japanese version instead of the Western version, perhaps because I read a lot of Japanese manga when I was younger and this cake appears very often in them. The Western Strawberry Shortcake is a crumbly sweet bread, usually leavened with baking powder or baking soda, made by rubbing butter into dry ingredients and moistened with just enough liquid to form a dough. The Japanese Strawberry Shortcake, on the other hand, does not contain and leavening agents. Instead, air is incorporated into the whipping eggs and just a small amount of dry ingredients are added in to yield a soft and tender sponge cake. Both are filled with whipped cream and strawberries, but the Japanese Strawberry Shortcake is usually assembled into a much prettier-looking cake.
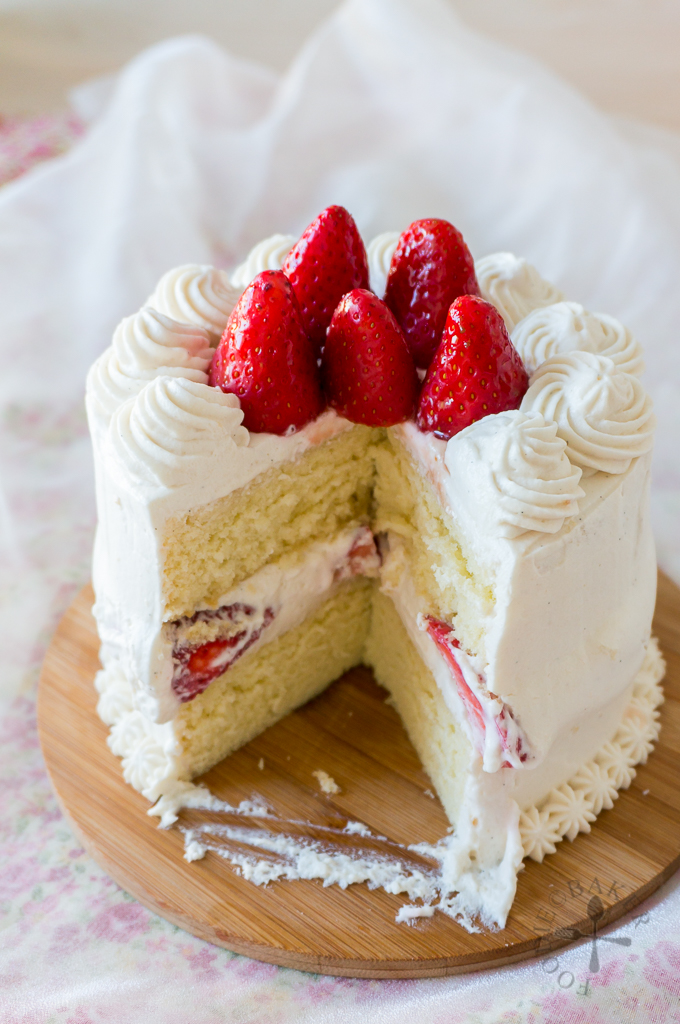
For the sponge cake, I adapted the recipe from Japanese Cooking 101, adding some orange zest for a citrus-y boost and using the method I learnt from Julia Child’s genoise. The sponge cake bakes up beautifully and have a nice flat surface, so I don’t have to slice off the top at all.
For the cream, I decided to make a stabilised whipped cream, which is simply made by whipping in gelatin into the whipped cream – it’s an additional step of work, but it helps the whipped cream to hold its shape better and pipes a lot more beautifully. And because just vanilla alone in the whipped cream can be boring, I added maple syrup to it as well and the flavour combo is just sooo amazing – I’m definitely adding maple syrup in all my whipped cream in the future (;

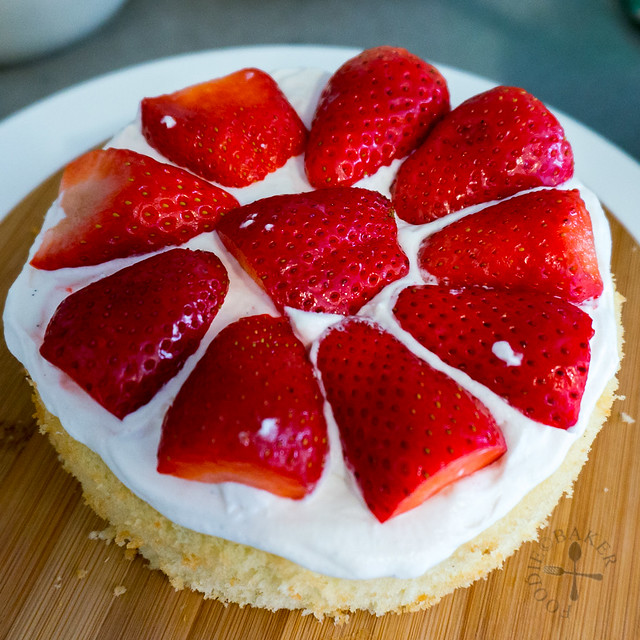
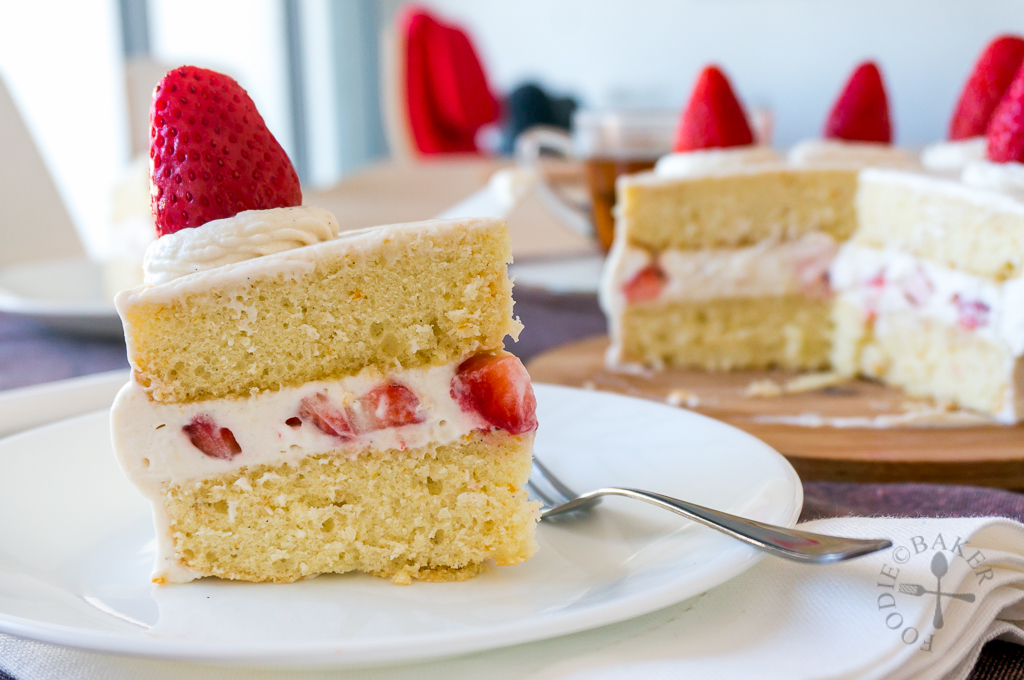
I baked this cake twice as for the first attempt, I did not scale back the sponge cake recipe and the sponge was so tall that the cake couldn’t support its own weight and was on the verge of collapsing. The strawberries in the middle were also halved, and though this makes the cake looks a bit prettier when cut, I find it difficult to get a clean cut. So for the second attempt, I scaled back the sponge cake recipe and chopped the strawberries – definitely much better! I also decorated the cake differently to see which one looks nicer, and I think the first one looks way better, don’t you think so?
Nevertheless, both attempts are equally delicious! Japanese Strawberry Shortcake is such a classic that I think everyone will love. Baking this cake is not as difficult as it seems, as long as you follow the steps closely. So bake this for someone you love today!
Step-by-step Photos | |
|---|---|
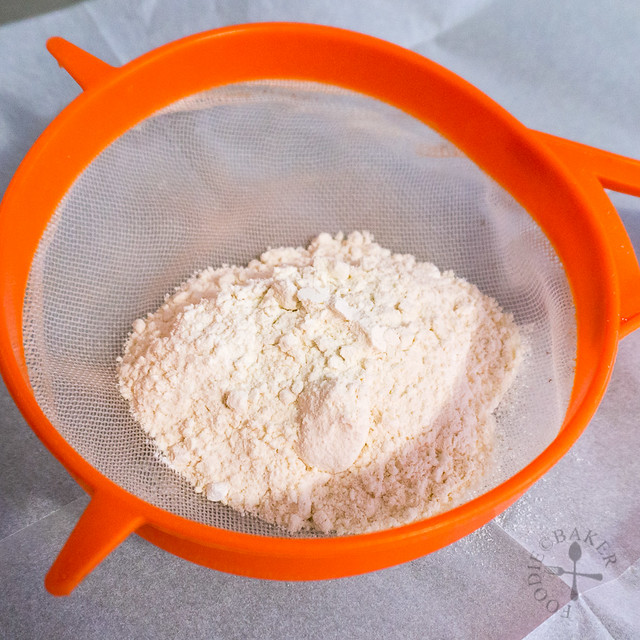 | 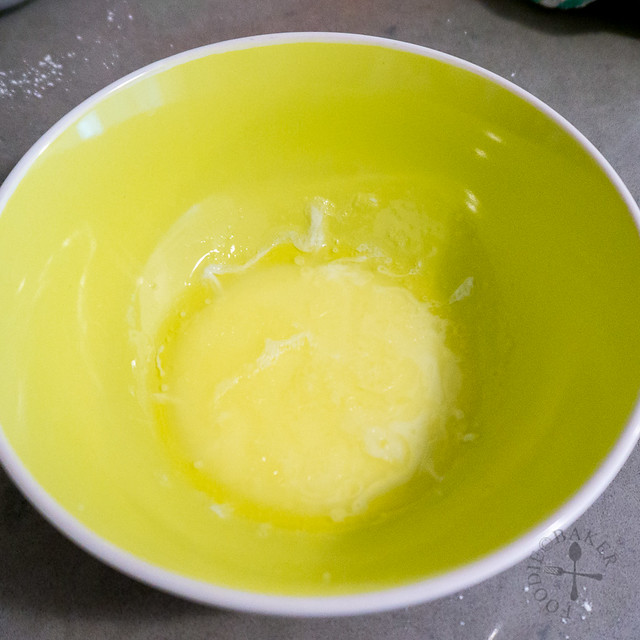 |
| 1) Sift plain flour and corn flour together 3 times. Sifting mixes the flour together and incorporate more air. | 2) Place butter and milk together and microwave to melt the butter. |
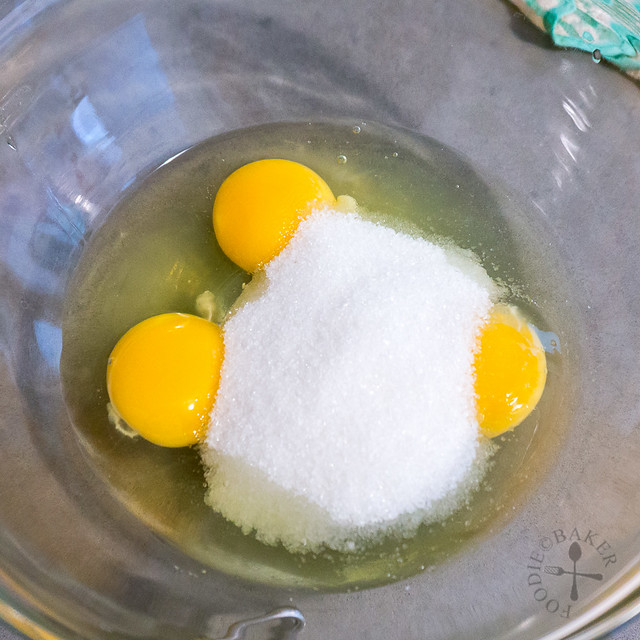 | 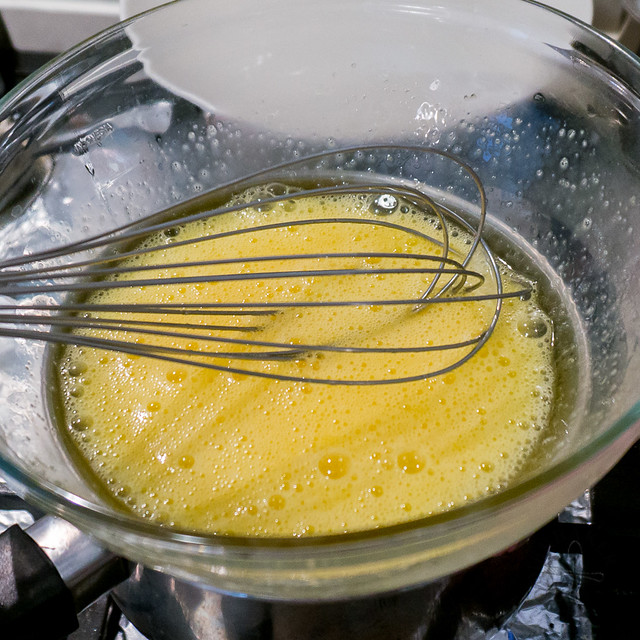 |
| 3) In the large mixing bowl, add in eggs and sugar. | 4) Place the mixing bowl over the pot of simmering water and whisk constantly until the mixture is warm like baby's milk (or until the sugar has melted). |
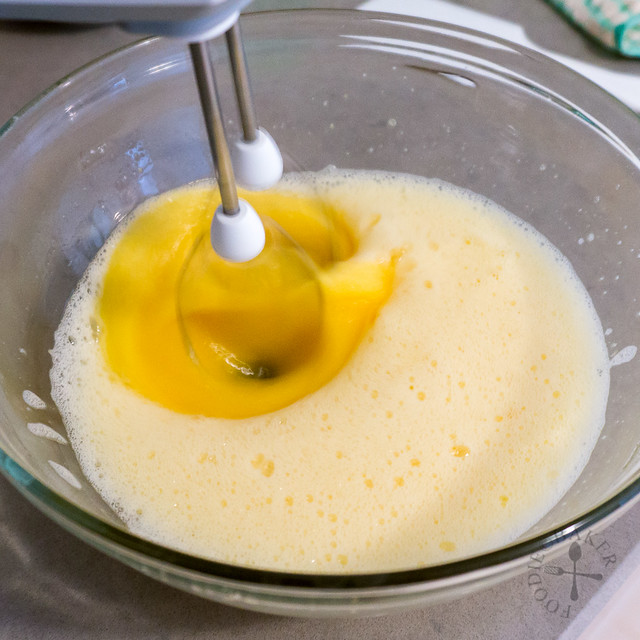 | 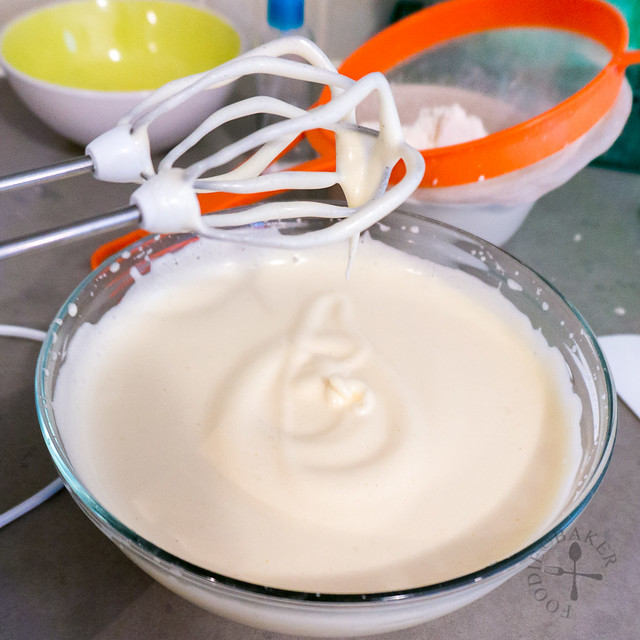 |
| 5) Change to an electric mixer and whisk the egg and sugar mixture on medium-high speed. | 6) Until the mixture is thick and ribbony - You should be able to draw an infinity symbol with the batter before the batter slowly sinks back into itself. Turn the electric mixer speed to low and beat in vanilla and orange/lemon zest. |
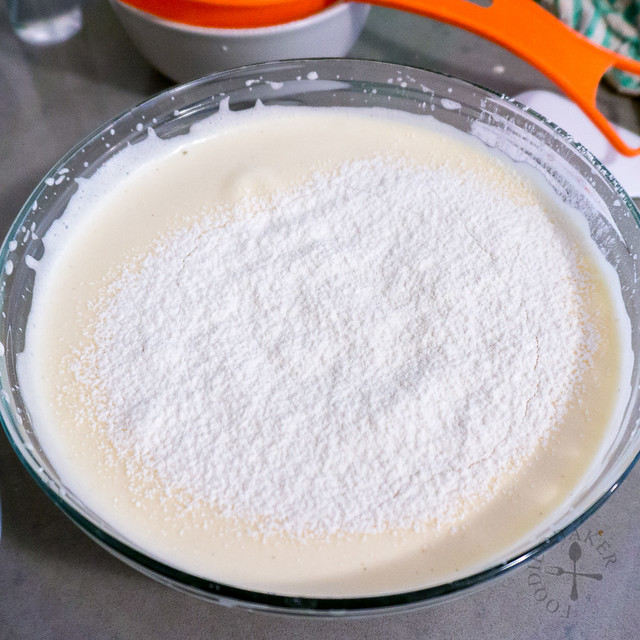 | 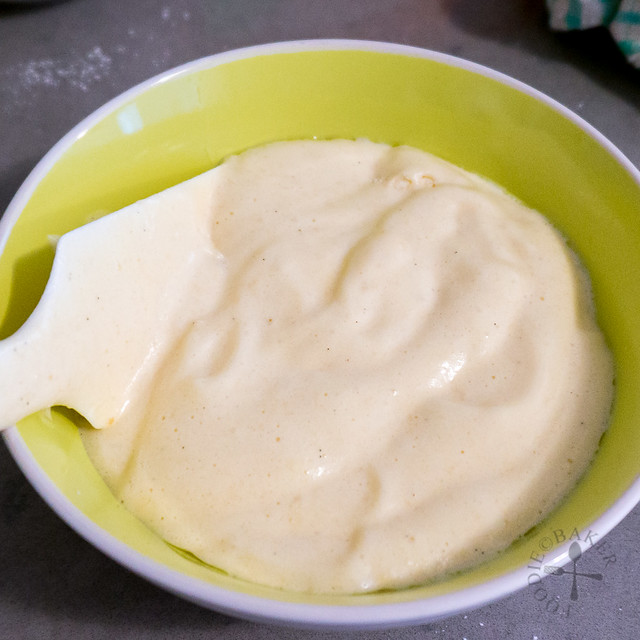 |
| 7) Sift in 1/2 of the flour mixture and fold in with a rubber spatula until incorporated (never use an electric mixer for this step). Sift in the remaining flour mixture and fold until incorporated. | 8) Pour 1/3 of the batter into the butter-milk mixture and fold until the butter-milk has been incorporated. If you add the butter-milk mixture directly into the batter, it will sink immediately, making it harder to mix into the batter. Doing this lighten the mixture, making it easier to mix in later on. |
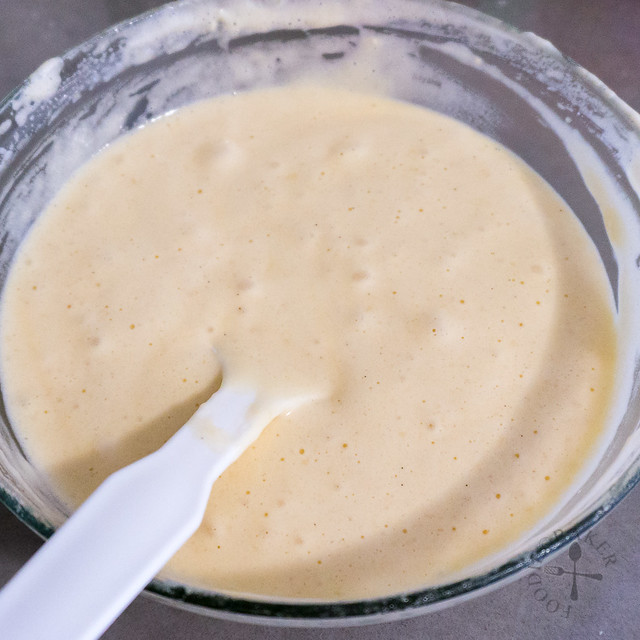 | 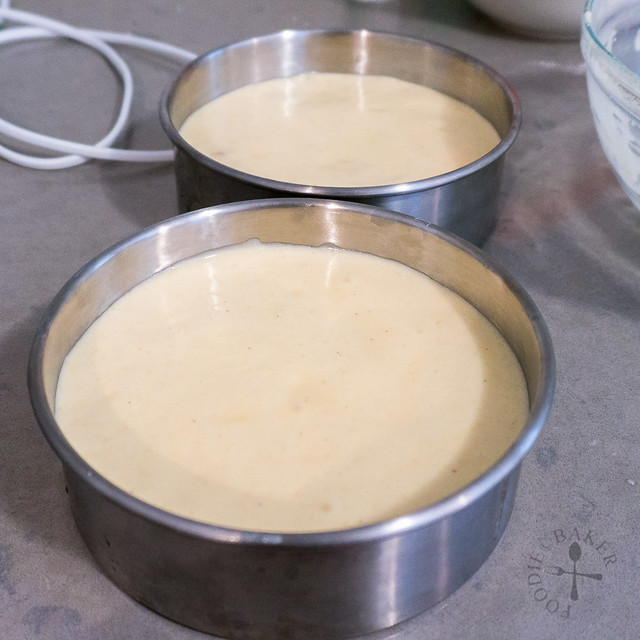 |
| 9) Pour it back into the large mixing bowl and mix until the batter is homogenous. | 10) Divide the batter between the 2 cake tins. Bake in the middle shelf for 18 to 20 minutes until a skewer inserted into the center comes out clean and the top of the cake springs back when touched lightly. |
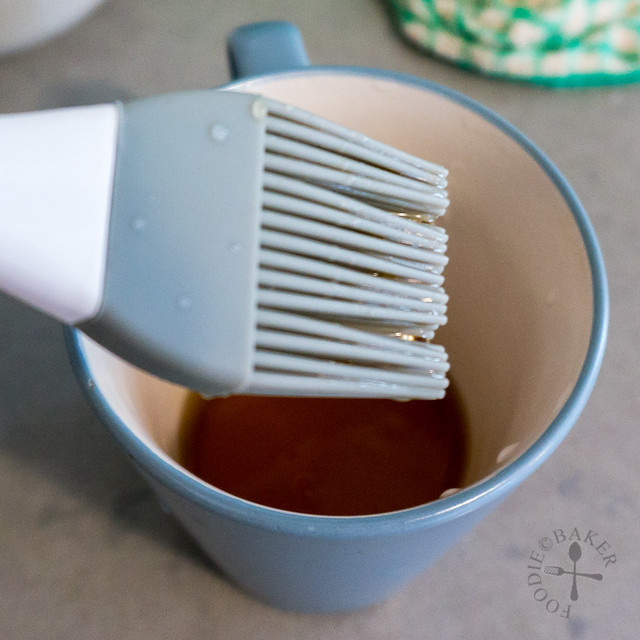 | 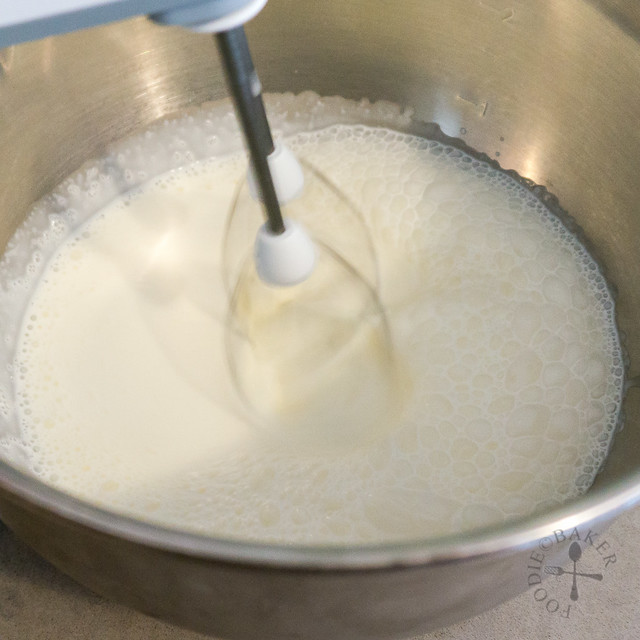 |
| 11) Combine sugar and water in a small pot. Bring to a boil and cook until all the sugar has dissolved. Remove from heat and let cool completely. Stir in the rum if using. | 12) Whip the cream over high speed until soft peaks are formed. |
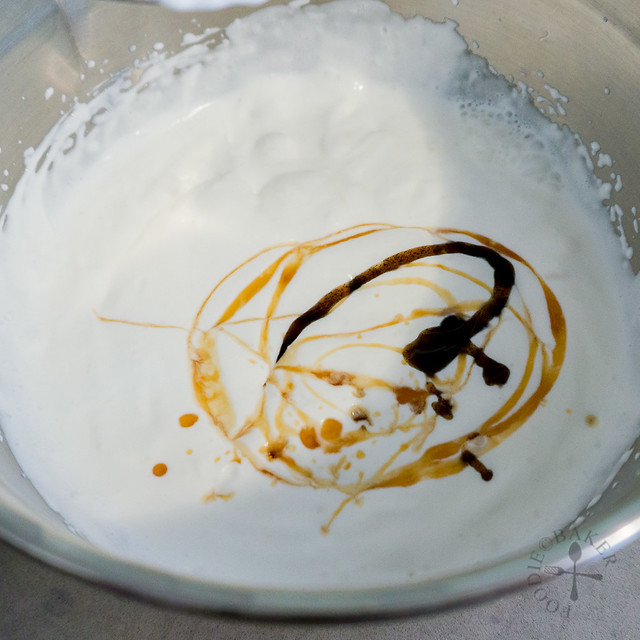 | 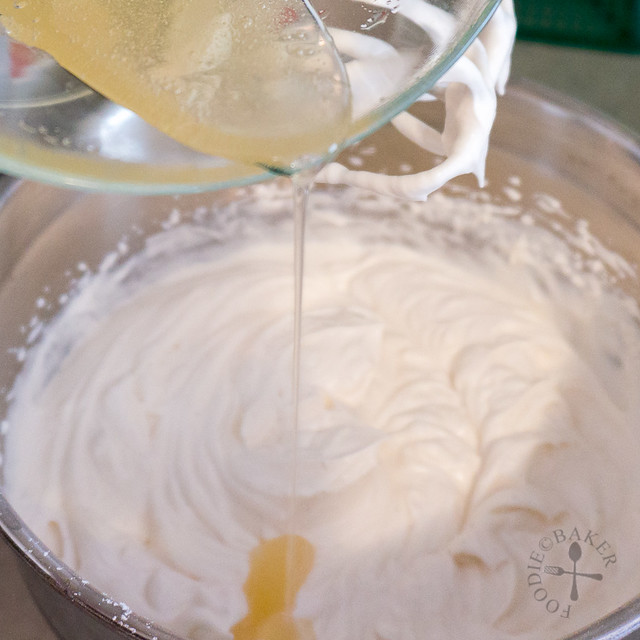 |
| 13) Add in maple syrup and vanilla and whip until incorporated. | 14) While the mixer is running, drizzle in the gelatin liquid until all the gelatin liquid has been added. |
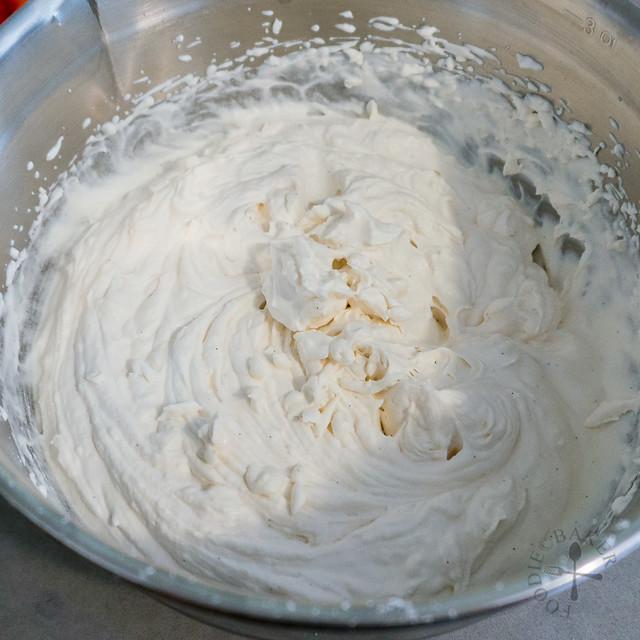 | 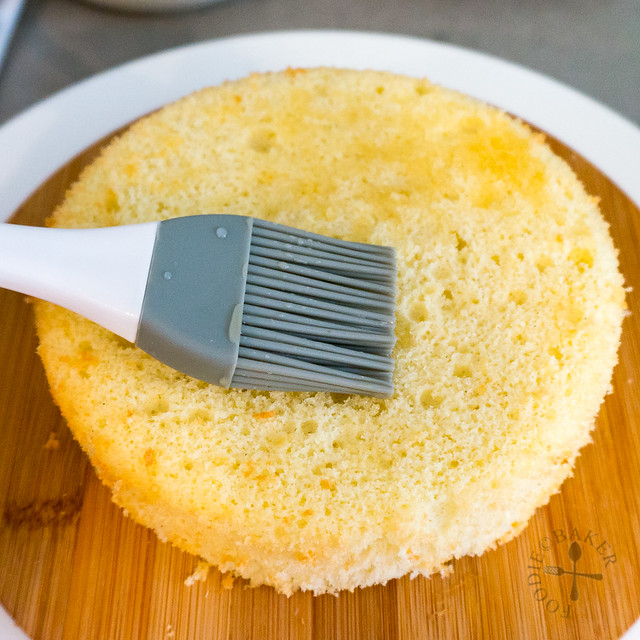 |
| 15) Continue to whip until stiff peaks are formed. | 16) Brush both sides of a cake layer with Syrup and place it on a cake board. |
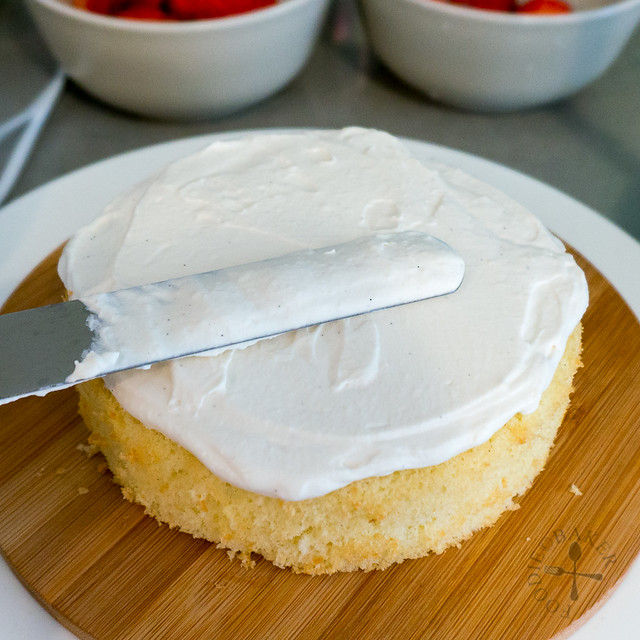 |  |
| 17) Spread the cake layer with whipped cream. | 18) Top with strawberries - this photo shows halved strawberries but I prefer the strawberries to be chopped into even smaller pieces so it's easier to slice the cake later. |
 | 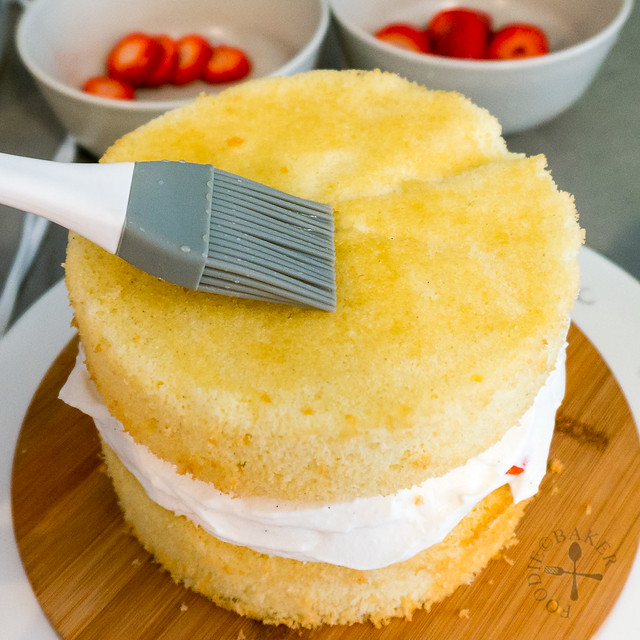 |
| 19) Cover the strawberry pieces with more whipped cream. | 20) Brush both sides of the second cake layer with Syrup then place it on top of the whipped cream. |
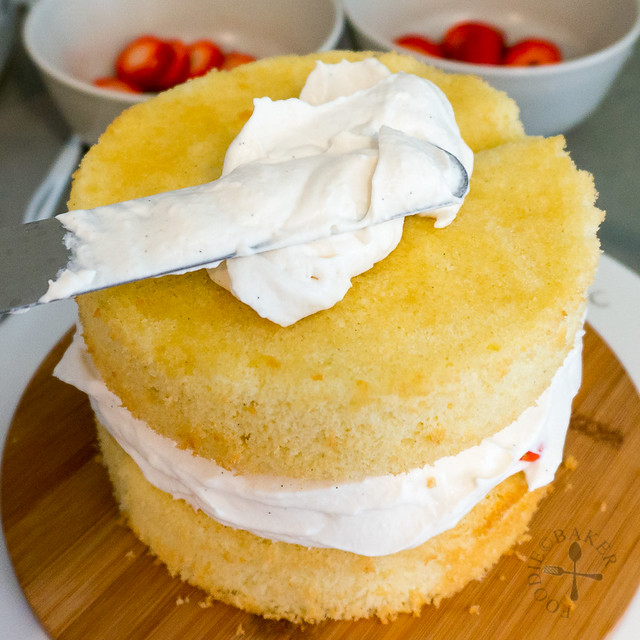 | 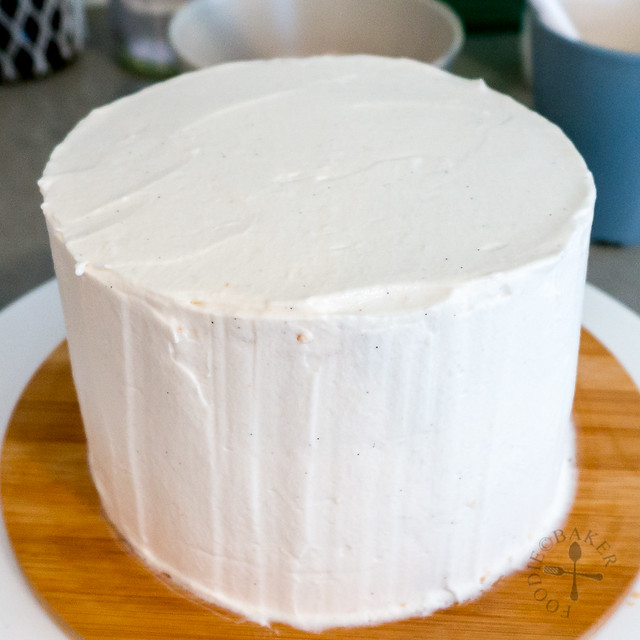 |
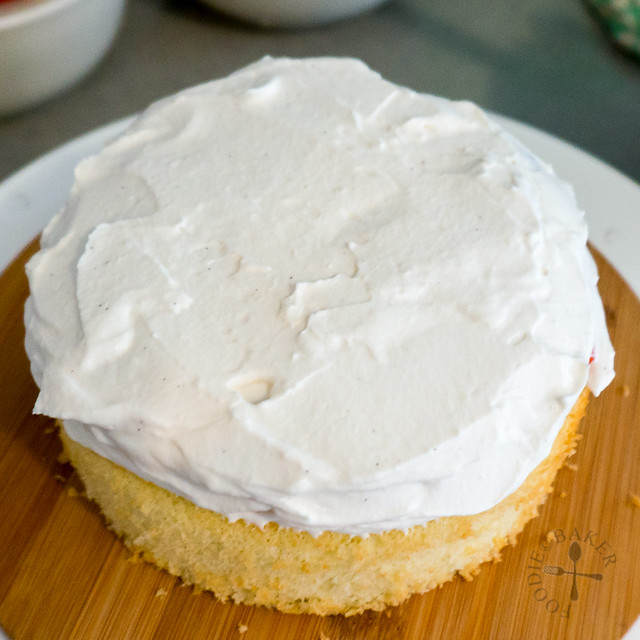
| 21) Spread the top and sides with whipped cream. | 22) Now you are ready to decorate! |

This is for Bake-Along #91 hosted by Joyce from Kitchen Flavours, Lena, from Frozen wings and Zoe from Bake for Happy Kids.
Japanese Strawberry Shortcake
INGREDIENTS
Sponge Cake
- 50 grams plain flour
- 10 grams corn flour, aka cornstarch
- 15 grams unsalted butter
- 1 tablespoon milk
- 2 large eggs, cold or at room temperature
- 60 grams sugar
- 1 teaspoon vanilla
- 1/2 lemon / orange zest
Syrup
- 60 grams sugar
- 3 tablespoons water
- 1 tablespoon dark rum, optional
Stabilised Cream
- 1 tablespoon water
- 1 teaspoon powdered gelatin
- 200 grams heavy cream, minimum 30% fats
- 2 tablespoon sugar
- 3 tablespoons maple syrup
- 1 teaspoon vanilla
Assembly
- About 12 strawberries
- 2 teaspoon strawberry jam
- 1 teaspoon hot water
INSTRUCTIONS
Sponge Cake
- Preheat oven to 175C / 350F (not fan-assisted). Line the bottom 2 5-inch round cake tins with baking parchment (no need to grease or flour the tins).
- Sift plain flour and corn flour together 3 times. Set aside.50 grams plain flour, 10 grams corn flour
- Place butter and milk in a medium mixing bowl and melt them over a pot of simmering water or in a microwave (microwave at full power for 30 seconds. Give the mixture a stir, then microwave for 10 seconds, check the mixture and repeat until butter has melted). Set aside.15 grams unsalted butter, 1 tablespoon milk
- Heat a small pot of water and place a large mixing bowl of over – the bowl should fit snugly on top of the pot and the bottom of the bowl should be 1 inch away from the water surface. Remove the mixing bowl from the pot. Bring the water to a boil then turn the heat down to a simmer.
- In the large mixing bowl, add in eggs and sugar. Whisk immediately with a wire whisk to mix them together. Place the mixing bowl over the pot of simmering water and whisk constantly until the mixture is warm like baby’s milk (or until the sugar has melted). Remove the mixing bowl from the pot. You can turn off the heat as you don’t need the pot of water anymore.2 large eggs, 60 grams sugar
- Change to an electric mixer and whisk the egg and sugar mixture on medium-high speed until thick and ribbony. This will take about 5 minutes. You should be able to draw an infinity symbol with the batter before the batter slowly sinks back into itself. Turn the electric mixer speed to low and add in vanilla and orange/lemon zest. Mix until incorporated.1 teaspoon vanilla, 1/2 lemon / orange zest
- Sift in 1/2 of the flour mixture and fold in with a rubber spatula until incorporated (never use an electric mixer for this step). Sift in the remaining flour mixture and fold until incorporated.
- Pour 1/3 of the batter into the butter-milk mixture and fold until the butter-milk has been incorporated. Pour it back into the large mixing bowl and mix until the batter is homogenous.
- Divide the batter between the 2 cake tins. Bake in the middle shelf for 18 to 20 minutes until a skewer inserted into the center comes out clean and the top of the cake springs back when touched lightly.
- Cool the cake completely on a wire rack before using.
Syrup
- Combine sugar and water in a small pot. Bring to a boil and cook until all the sugar has dissolved. Remove from heat and let cool completely. Stir in the rum if using.60 grams sugar, 3 tablespoons water, 1 tablespoon dark rum
Stabilised Cream
- Chill a metal bowl and the beaters of an electric mixer in the refrigerator for 15 minutes.
- Place water in a small heat-proof bowl. Sprinkle powdered gelatin on top of the water and set aside for 5 minutes. Place the bowl of gelatin in a pan of simmering water and heat until the gelatin has dissolved. Remove from heat and set aside.1 tablespoon water, 1 teaspoon powdered gelatin
- Remove the chilled bowl and beaters from the refrigerator and add in the heavy cream and sugar. Whip the cream over high speed until soft peaks are formed. Add in maple syrup and vanilla and whip until incorporated. While the mixer is running, drizzle in the gelatin liquid until all the gelatin liquid has been added. Continue to whip until stiff peaks are formed. If the weather is warm, place the bowl of whipped cream over a bowl of ice water to keep the cream chilled.200 grams heavy cream, 2 tablespoon sugar, 3 tablespoons maple syrup, 1 teaspoon vanilla
Assembly
- Rinse and drain the strawberries then cut off the strawberry tops. Reserve 6 best-looking strawberries and chop up the rest into small pieces.About 12 strawberries
- Run a spatula along the edges of the cake tins, turn the cake tins over to remove the cakes. Peel off and discard the parchment paper. Brush both sides of a cake layer with Syrup and place it on a cake board. Spread the cake layer with whipped cream and top the whipped cream with plenty of strawberry pieces. Cover the strawberry pieces with more whipped cream. Brush both sides of the second cake layer with Syrup then place it on top of the whipped cream. Spread the top and sides with whipped cream, reserving some for decoration.
- Place the reserved whipped cream in a piping bag fitted with a star tip. Pipe rosettes all around the cake then decorate the cake with the reserved strawberries. Combine the strawberry jam and hot water together and brush it all over the strawberries for a glossy look.2 teaspoon strawberry jam, 1 teaspoon hot water
- The cake is best serve chilled, so chill the cake for about an hour before serving. Any leftover cake should be stored in a covered container in the refrigerator.
Kim says
How long can I make in advance and store in fridge? Can’t wait to try this recipe. Thank you!
Jasline N. says
Hi Kim! You could make the cake and syrup one day before and store them, covered, in the refrigerator. Make the whipped cream and assemble the cake on the day itself.
Angela Kimes says
Hello! I tried this at my daughter’s request for her 15th birthday. I tried to convert the amounts of grams to cups, etc. but it was obviously incorrect so the cake did not turn out. Could you give measurement equivalents in cups or ounces, please? Thank you very much.
Jasline N. says
Hi Angela! I’ve updated the recipe to reflect the measurement equivalents in ounces (except for cream measurement) – just click “Imperial” in the recipe. As I did not bake this using cup measurements, I will not be providing measurement equivalents in cups. Hope this helps!
Patrick says
Hi Jasline I tried making this cake 4 times, only had success once. The cake is not rising.
Could I be mixing the egg and sugar mixture too much, should there be any bubbles in the mixture? When I am finished there is barely enough batter to fill the bottom of the 5″ tins.
Thank You for any help. Patrick
Jasline N. says
Hi Patrick, did you use an electric mixer to whisk the egg and sugar mixture? The mixture needs to increase by volume by almost 3 to 4 times – see step-by-step photos 5 and 6 the difference in volume. It can also be you overmix when mixing in the flour mixture, causing the volume to deflate too much, hence not enough batter for the tins.
Carey T. says
Hi Jasline
I have a question: what is the number of inch for cake tins you use and did I really need to add maple syrup to stabilised cream, thanks
Jasline N. says
Hi Carey, I used 2 5-inch cake tins 🙂 Maple syrup is optional. You can add more sugar if you want the cream to be sweeter.
Carey T. says
So it 25 or 2-5 inch tins
Jasline N. says
Hi Carey, it’s two 5-inch tins!
Eli says
Hi! I love this recipe, but when I tried to make the stabilised cream everything went wrong. The only change I made was that I added honey instead of maple syrup.
The texture became granulated alike and it was impossible to cover the cake with it.
It was just a minimal change! Cant believe that happened!
Jasline N. says
Hi Eli, sorry to hear about the cream! I have not tried making honey whipped cream, but my best guess is that if your whipped cream looks grainy, it may be because the cream is over-whipped.
You may want to try adding in the honey when the cream is in the soft-peak stage, or if your cream is already close to stiff-peak stage when you add the honey, use the lowest speed on your mixer to mix in the honey or better still, use a wire whisk and manually whisk in the honey.
Hope your next try will be better!
lena says
oh my, this is so pretty..you are getting very pro la! yeah, i like the deco on yur 1st attempt more. If i were to attempt mine again, i would do the same like what you did that is to cut the strawberry into smaller pieces…! btw, wish yu an early happy chinese new year first! gong xi gong xi!
ChgoJohn says
You are quite the baker, Jasline. Both cakes look professionally prepared. Very impressive.
SavoringTime IntheKitchen says
I wish strawberries were in season here now! Although we can get them, they aren’t nearly as juice and delicious as they are in the spring. Your cake is absolutely beautiful!
Joyce, Kitchen Flavours says
Hi Jasline,
Your cake is beautiful and so delicious looking! I can see how soft and fluffy the cake is and I’m so jealous over the huge gorgeous strawberries!
Wish I could have a slice of your lovely cake!
Anne says
Jasline , the stabilized cream sounds perfect for this kind of cake ! I made Japanese strawberry shortcake last July but using whipped cream alone can’t achieved a smoother finish that I want . I’ve been checking out some stabilized cream recipes lately but I think I just settle for your recipe 😀 Gorgeous cake and throw me a slice , please lol
Karen Luvswesavory says
Hi Jasline, oh this Japanese Shortcake is so elegant looking !
Sharon D. says
Oh my…this is so gorgeous, Jasline. Thumbs up!
Zoe (@bake4happykids) says
Hi Jasline,
Wow… You are so fast baking this beautiful cake for Valentine’s day already 🙂 We never thought that strawberry shortcakes are great for Valentine’s day celebration and you are totally right 🙂
Very impressive cake 🙂
Zoe