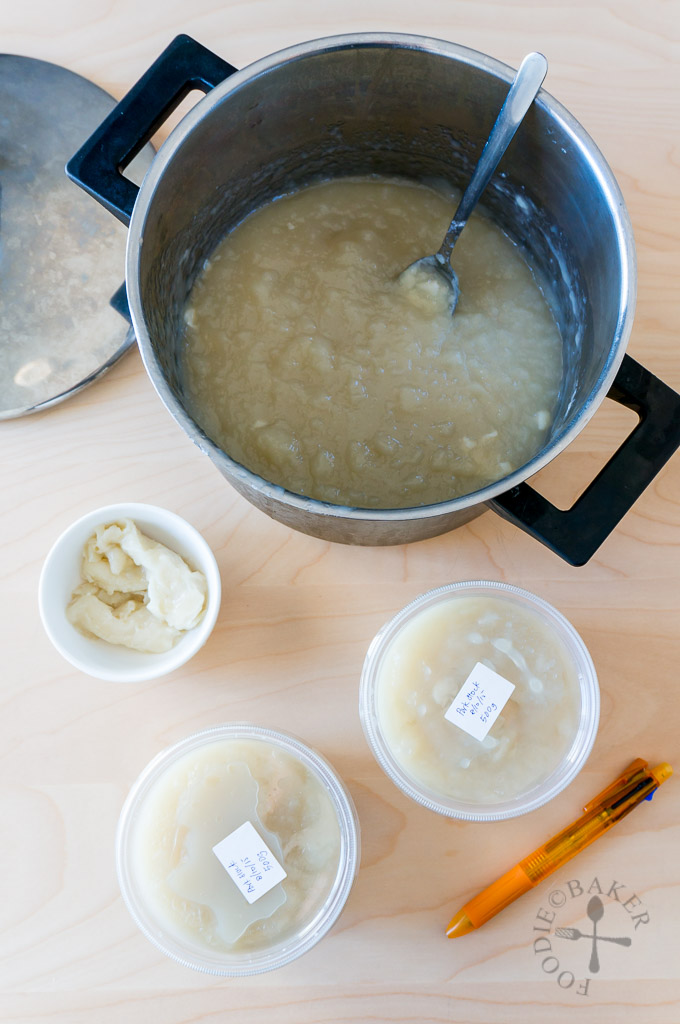
Back in Singapore, my mom had never made bone stock from scratch before (always resorting to stock cubes or those in cans), maybe because it’s a time-consuming affair and perhaps because it’s a pricey one (my mom always say gas is expensive). So I’ve never made bone stock before until last year – when the local butcher here gave us pork trotter and occasionally, pork bones, for free – yes, for free!
We don’t eat pork trotter (I have absolutely no idea how to cook and enjoy this part of meat, perhaps I will in the future), so the only way I can think of to use it up is to make stock. And since then, I have been making bone stocks every few months, experimenting with different types of bones/meat and different add-ons. And here’s a rough guide on how to make one at home!
The Bones
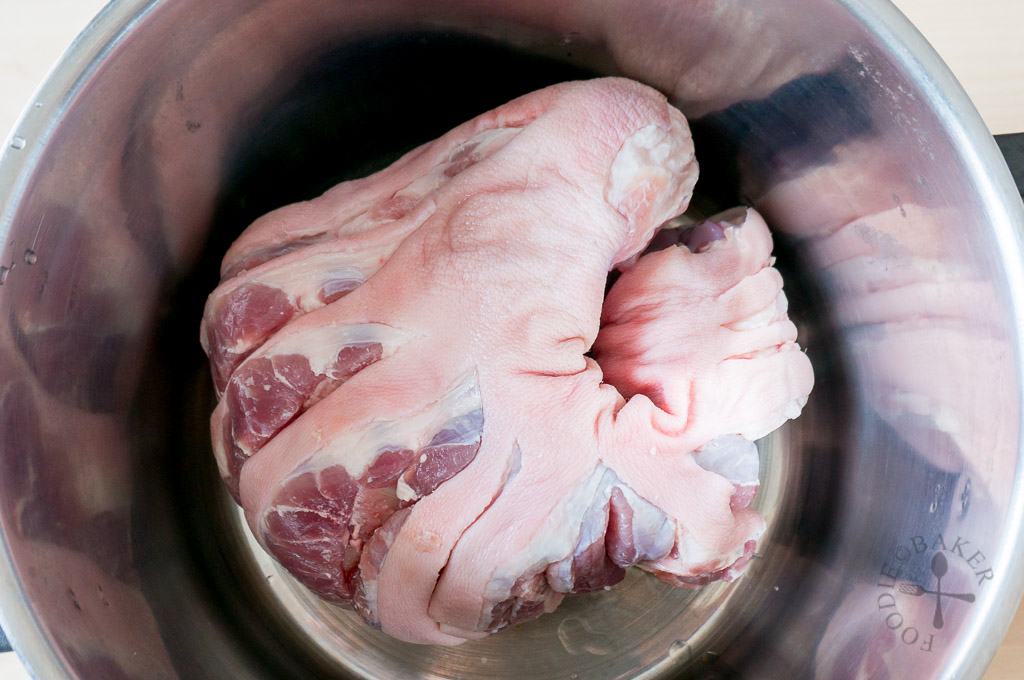
Basically you want to make stock with parts that you won’t eat – because these parts are usually the cheapest to obtain.
I usually go for pork bones because I get them for free, but I’ll also add in chicken bones/carcass with the pork bones that I’ve saved up when I cook with them. To make gelatinous stock (stock that’s uber rich in collagen), try to use a mix of chicken feet, chicken neck, chicken wing-tips, pork trotters, pork ears and pork tails.
If you don’t get pork bones for free like I do but eat chicken very often, save up the carcasses and bones by freezing them in a ziploc bag until you have accumulated enough to make stock, which is roughly about 1 to 1.5 kilograms of bones and carcass to make about 3 litres of stock. You can also buy a whole chicken, cut it up and save up the bones and carcasses for stock and use the rest for your meals.
I bought beef bones before to make beef stock for my pho, but I don’t really use beef stock for other dishes as I felt that the beef-y taste of the stock will overwhelm the dish, so I only make beef stock when I’m making beef-based dishes.
Fish bones can also be used for stock but I seldom make it because we just don’t eat whole fish often enough (I usually just buy fish fillets as they make life a lot easier heh).
The Par-Boil
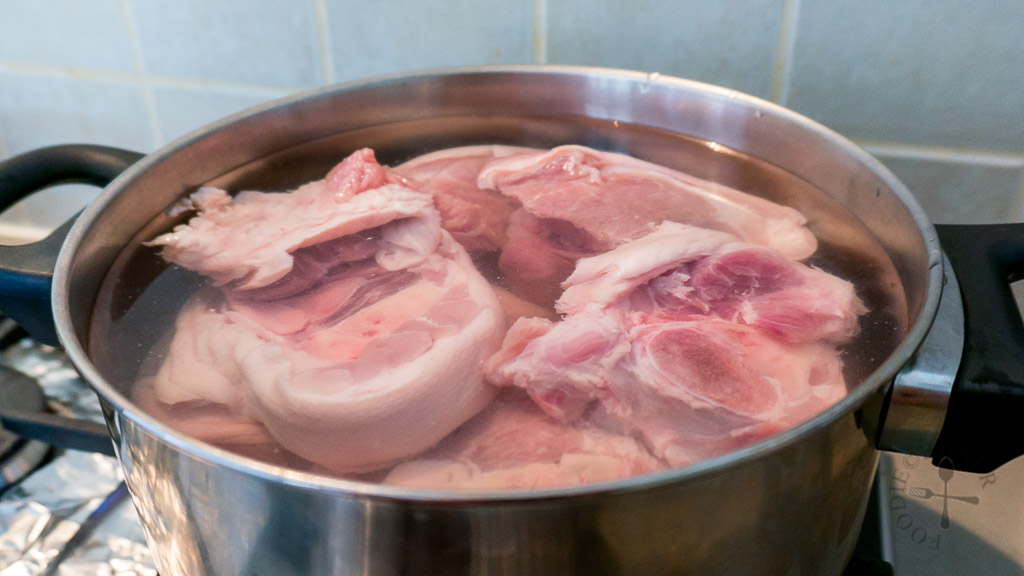
Whenever I make a bone stock, I’ll definitely par-boil them first – the bones/carcasses will be submerged in room-temperature water and then brought to a rolling boil. The water will be kept boiling for about 5 minutes – all the dirt, impurities, and blood (collectively known as scum) will rise to the surface of the water – just see the photos below!
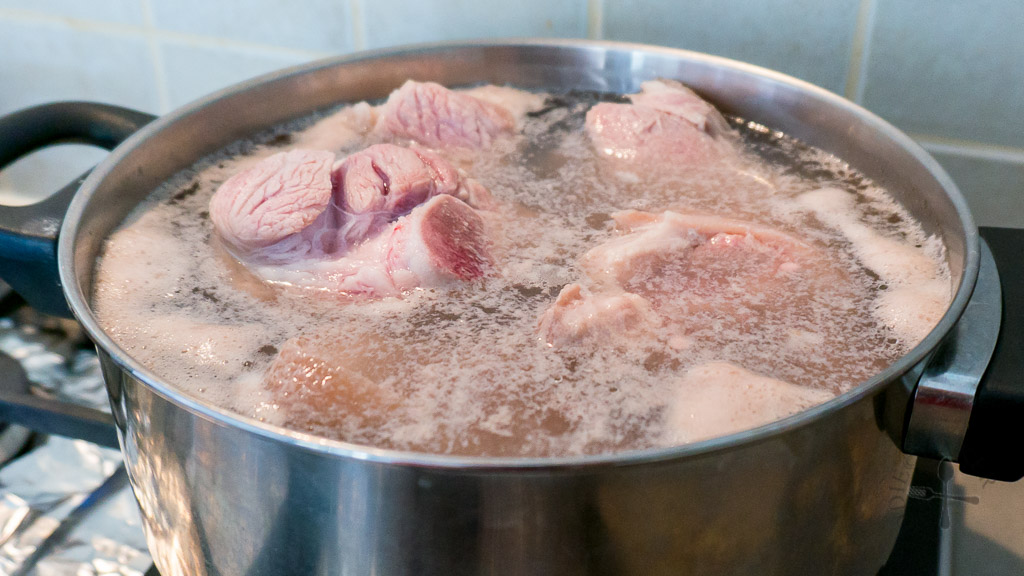
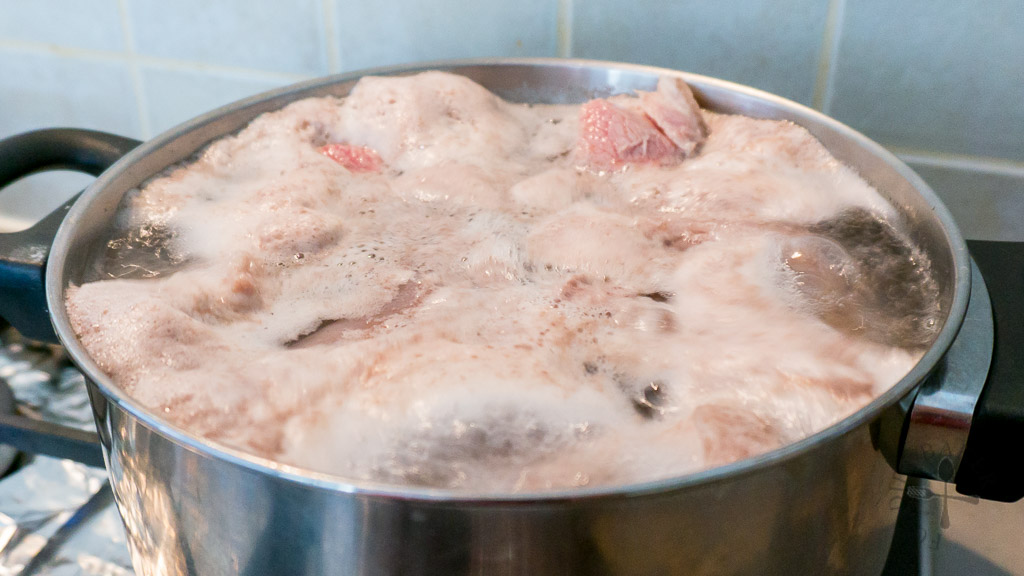

Regardless of the bones used (be it pork, chicken or beef), there will definitely be scum when boiling the bones. Some recipes will ask you to skim off the scum but it’s really troublesome – there’s a lot and you have to keep doing it throughout the simmering process. So the easiest way to get rid of the scum once and for all is to ditch the water, rinse the bones, rub off any scum stuck onto the bones, put them back into a clean pot, top up with clean room temperature water and you can start getting your stock simmering. If you still see scum floating on the water surface, you can skim them off, but usually I don’t even need to do so because there’s no scum for me to skim off! Par-boiling will get rid of most and perhaps all of the scum, and just boiling them for 5 minutes won’t extract much flavour and collagen anyway so you won’t be wasting any of the stock.
So, moral of the story – just par-boil the bones and make your life many times easier!
The Add-Ons and the Simmer
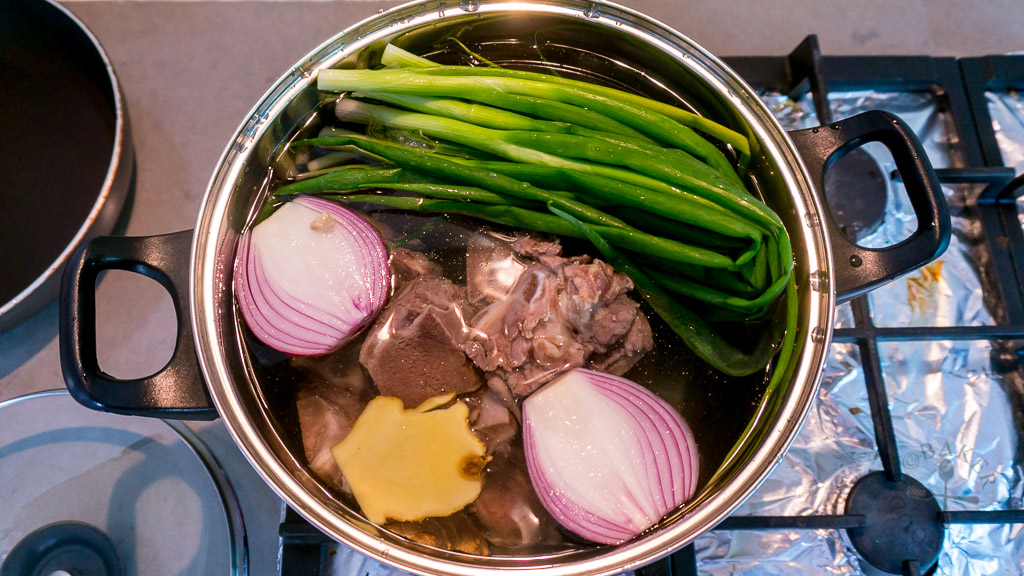
There are many other ingredients that you can add into the bone stock to boost its flavour – I’ll always, without a doubt, add an onion into the stock. Sometimes I will add ginger (just a small amount so the ginger taste won’t be obvious), spring onion and garlic into the stock as well. Vegetable scraps like carrot tops and ends usually find their way into the stock too. You can also roast the vegetables before adding into the stock but I don’t really bother these days (too lazy heh).
If you can’t think of what you will use the bone stock for, just add the onion and omit the rest – you can never go wrong!
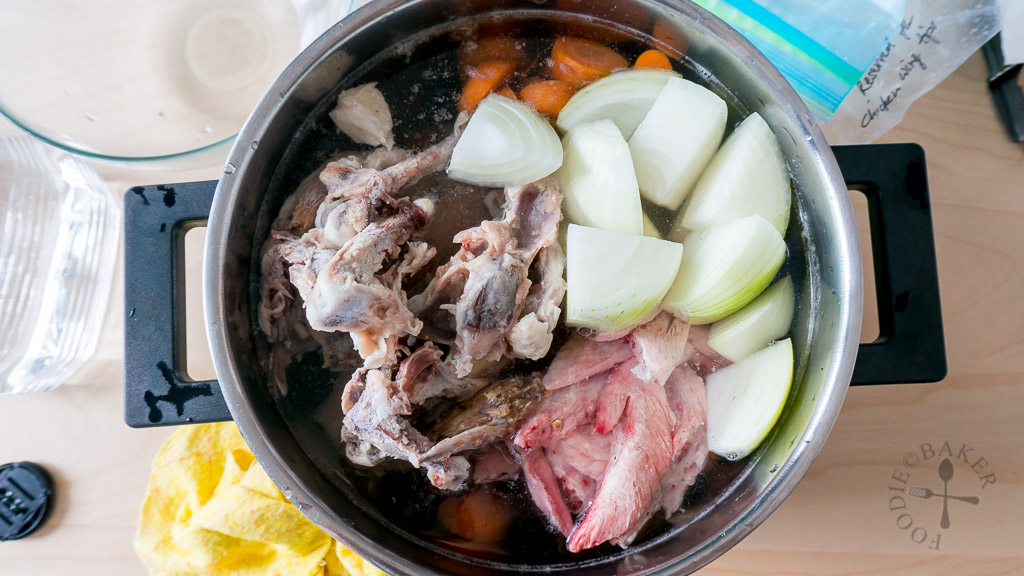
Next is the long simmer! After the water has come to a boil, turn down the heat to low and make sure your stock is simmering – bubbles should break through the surface of the water gently. If the stock boils too vigorously, the stock dries up very fast and the collagen is somehow destroyed or lost in the process, and the stock won’t be gelatinous. If the stock does not simmer at all, the collagen somehow won’t be extracted, and the stock won’t be gelatinous as well (weird huh?) So… just make sure it’s simmering, but not vigorously!
I usually simmer the stock for 6 to 8 hours. If you don’t have much time, try to aim for at least 4 hours! You will need that amount of time to extract all the goodness. I plan to invest in a slow cooker in the future so that I can cook the stock overnight or while I’m away at work so that I don’t have to tend to it at all.
The Fats
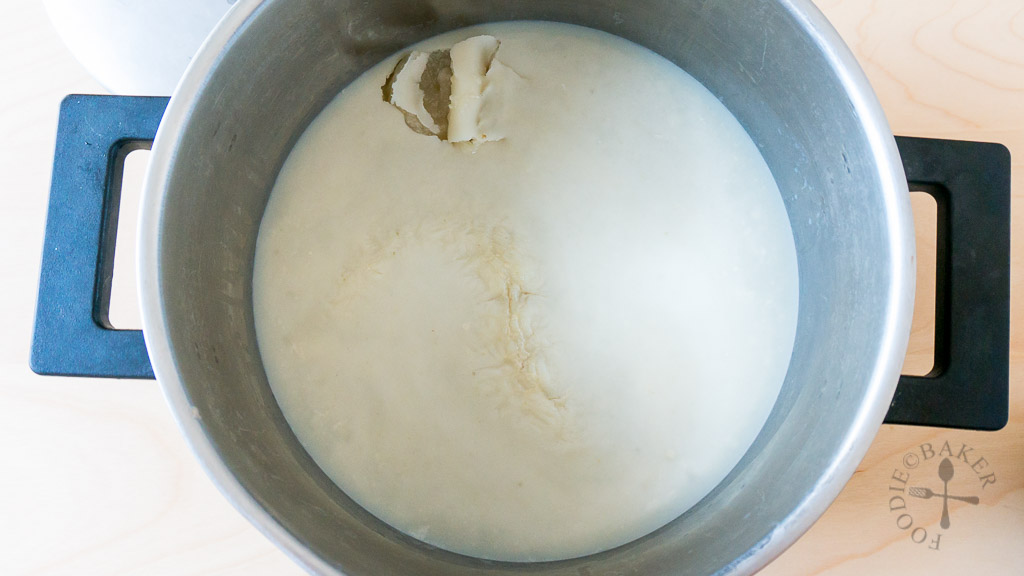
After the bone stock has been simmered for hours, I’ll strain it into a clean large pot / bowl and discard the bones, carcasses and all the vegetables. At this point, there will be a layer of fat floating on top – I don’t like the soup to taste greasy but skimming out the fat right now is a laborious task because I will end up scooping out some of the precious stock with the fat as well. So what I always do is to let the stock cool down completely, then chuck it into the refrigerator overnight. After a night of resting, the fat will harden on the surface, so it becomes incredibly easy to scrape off the fat. You can discard the fat, but I save it for stir-fries – yummy!
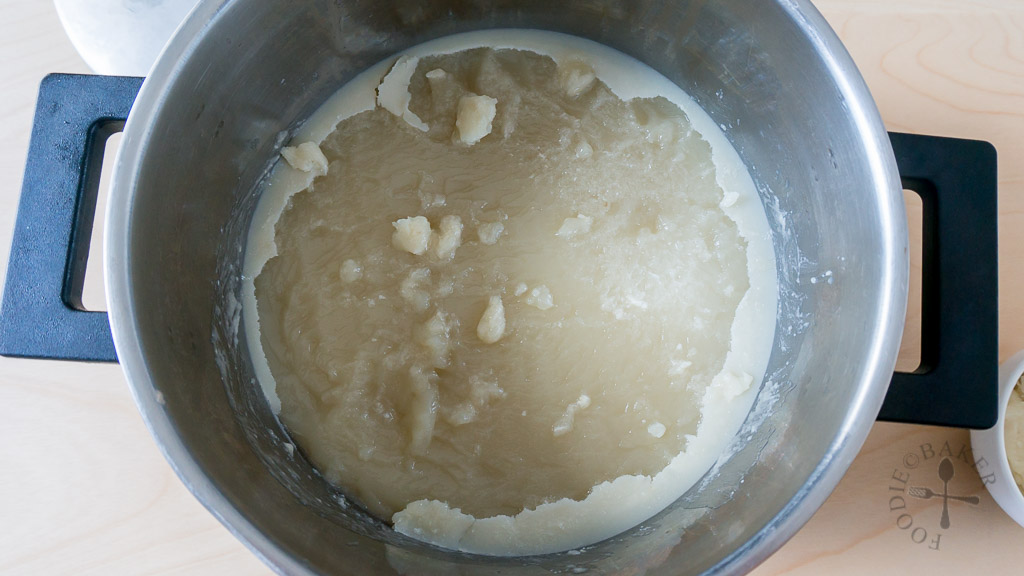
If you’ve boiled your stock correctly, it should be gelatinous – the degree of gelatinous depends on the type of bones and carcasses you used and how much water you used. When I first started making bone stock, the stock always harden into a firm jelly because I didn’t use much water. Nowadays, the stock is of a soft, loose jelly consistency because I didn’t reduce the stock as much.
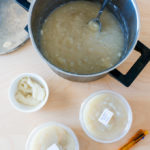
At this point I will divide the stock into containers of various sizes – 1/2-cup, 1-cup and 2-cups. Why the different sizes? Because different recipes will require different amounts of stock, and freezing them in different portions will allow me to thaw just the amount that I need. You can freeze the stock in containers or in ziploc bags – ziploc bags allow the stock to be frozen flat, hence thawing it will be a lot faster. However I still prefer to freeze the stock in containers because containers are easier to wash and clean.
Here are some recipes that uses 1/2-cup amounts of stock:
| Fried White Bee Hoon | Pork Roast with Orange, Mango and Onion | Pan-Fried Chicken with Mushrooms |
 | 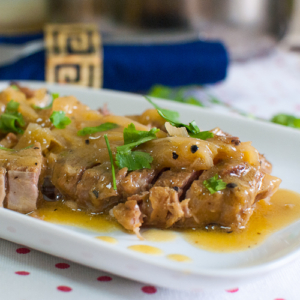 |  |
Here are some recipes that uses about 1 cup of stock:
| Chicken Pie | Rice Cooker Chicken Rice | Oyakodon |
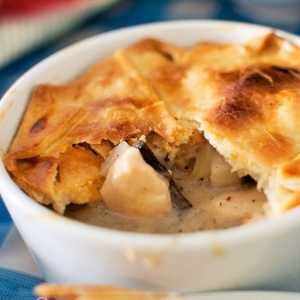 | 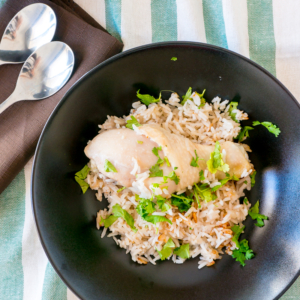 |  |
Here are some recipes that uses 2 cups or more of stock:
| One-Pot Pasta Soup | Chicken, Chorizo and Prawn Paella | Vegetable Chowder |
 |  |  |
Thawing
There are several ways to thaw the stock – leaving it overnight in the refrigerator or microwaving it (provided that your container is microwave-safe). I simply place the container of stock in a large, shallow bowl of water (the water does not cover the whole container, it just comes up to the sides of the container), allow the sides of the stock to thaw, then empty the whole frozen block of stock into the pot. I then turn up the heat to medium, cover the pot, and let the heat melt the frozen block of stock before I use it – easy peasy!

And that’s it! I actually intended for this to be a really short post, but somehow I just kept typing and typing and typing… so I guess I’ll stop here and leave you with the basic bone stock recipe! Have fun simmering!
Homemade Clear Bone Stock
INGREDIENTS
- 1 to 1.5 kilograms bones, chicken, pork, beef
- Room-temperature water
- 1 large onion, peeled and halved
- 5 to 10 spring onion, optional
- 1 thumb ginger, unpeeled and halved lengthwise (optional)
- 5 cloves garlic, unpeeled (optional)
- Carrot tops and ends, optional
INSTRUCTIONS
- Chop up the bones if necessary so that they can fit in the pot. Place the bones in a pot and add in enough room-temperature water to cover them by at least 1 inch.
- Place the pot over the highest heat and bring to a boil. Keep the water on a rolling boil for 5 minutes. All the scum will rise to the surface. Discard the water and rinse the bones.
- Transfer the rinsed bones into the largest stock pot you have - (mine is about 6 litres). Add in the onion, spring onion, ginger, garlic and carrot tops and ends. Add in room-temperature water until the pot is full. Bring the water to a boil, then turn the heat down to a simmer.
- Cover the pot and simmer for 4 to 8 hours (I usually simmer for 6) - bubbles should break through the surface of the water gently while simmering. If it doesn't, the heat is too low and should be adjust higher. Stir the stock every hour to make sure nothing sticks to the bottom of the pot. If your stock pot is small and you need to top up with water, always top up with boiling water.
- Strain the stock into a large clean bowl / pot. Let the stock cool completely to room temperature, cover then store in the refrigerator overnight.
The Next Day
- Remove the bowl of stock from the refrigerator - the white layer on top is fat that should have solidified in the refrigerator. Scrape off as much fat as you can with a spoon (the fat can be used for cooking / stir-fries. Store the fat in a container in the refrigerator and use within 3 days).
- If the stock has been simmered long enough and correctly, it should be in a gelatinous state as the collagen from the bones have been extracted, which causes the stock to gel. Divide the stock into containers of various sizes and freeze until needed.
NOTES
- Pork: If no pork bones are available, you can use pork trotter instead.
- Save the bones from your meals - store them in a ziploc bag and freeze them until you have enough to make stock.
- If using bones from roasts (like roasted chicken), skip Steps 1 and 2.
- I usually make stock with a mix of chicken and pork bones/carcasses. The taste of beef stock may be quite strong, so I only make it when I'm making a beef-based dish, like pho.
- I usually freeze my stock in 1/2-cup (125 ml), 1-cup (250 ml) and 2-cups (500 ml) portions. 1/2-cup portions are good to make sauces, 1-cup portions are good for stews and when I'm cooking for 1 person while 2-cup portions are good for soups and noodle soups for 2 people.
Sheena says
You added onions right? Do you need to remove them or it goes well with whatever uses for the stock?
Do you mean if I ate a roast chicken, I can use he remaining cooked chicken carcass to make the sock after rinsing it too? I find it hard to use fresh ones as they stick to the flesh.
Thanks your blog is simple and informative, just what I need.
Jasline N. says
Hi Sheena, thank you for visiting! Yes, I always add onions for additional sweetness whenever I make my bone stock. I will strain and discard the onion (and the other veggies like ginger and garlic) together with the bones – it will be difficult to pick out the onion to add back into the soup because the onion is super soft.
And yes, the cooked chicken carcass can be used to make stock. I will peel off the meat from the roasted chicken, transfer the bones into a ziploc bag (no need to wash the bones) and freeze them until I have accumulated enough carcass to make stock.
Hope I answered your queries!
sneha says
I had never done this recipe before. 🙂 will do and get my review soon.
The Gourmet Gourmand says
This has been on my bucket list for a while now. Thanks for reminding me that I really need to give this a go 🙂
Amelia says
HI Jasline, the butcher so good gave you free pork bones. :))
The stock look great,can use for various dishes or soup. Thanks for sharing.
Have a nice weekend, regards.
Amelia
Susan says
I love making homemade stocks and have none in the freezer now so your post has inspired me to get busy 🙂 I’d love to try the pork stock too! You are so lucky to get the pork bones for free!
Julie is Hostess At Heart says
Homemade is always better! Healthy and delicious. I love that you can get free bones. I will have to check with my butcher!
Sharon D. says
This is brilliant, Jasline. I’m guessing I can use the slow-cooker for this too. I really should get around to making my own stock. I don’t buy any and rarely use it, but I can see why it’s great to have around! ^.^
Monica says
This is fascinating and what an amazing stock you end up with. Just seeing all that gelatin, I know it’s good stuff! Great tutorial on how to make this bone stock.
dadszest says
This is a good piece of info i ever wanted to make while making stock. I never knew all these are to be done. This recipe is pinned for my stock prep
Veronica Ng says
You have a really beautiful trotter there, so meaty. I am so impressed they gave you for free. Next time maybe try making trotter with ginger in black vinegar. If you like you can have a look here – http://mintyskitchen.blogspot.com.au/2014/07/pork-knuckles-ginger-in-black-vinegar.html
Jasline N. says
Thanks Veronica! I’ll definitely give it a try next time, but first I’ll need to find that bottle of sweet vinegar or bring it back from Singapore! xD
Lorraine @ Not Quite Nigella says
What a really handy guide Jasline!! Bone broth is such a lovely item to have on hand. 😀 And home made is so much better too!
Nagi@RecipeTinEats says
Thanks to the local butcher who gave you pork trotter and pork bones, for free! This post is a great guide for a wonderful homemade bone stock 🙂