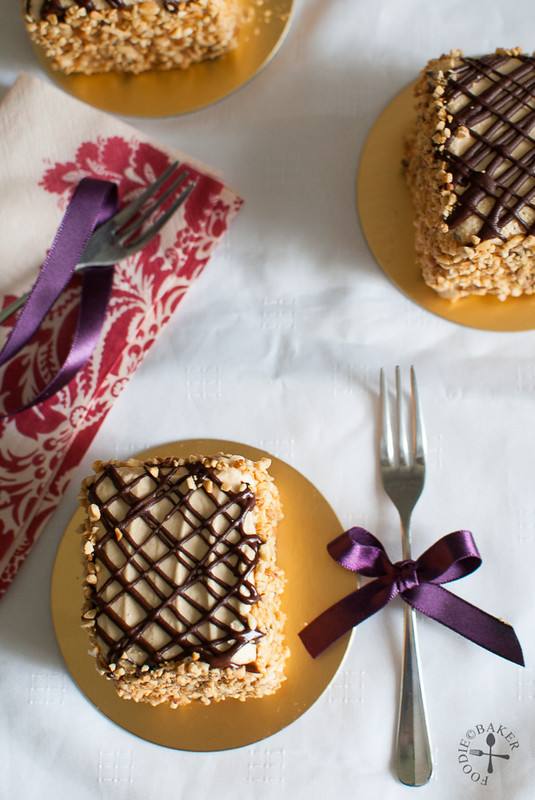
I’ve always have a soft spot for layer cakes because:
1) They look absolutely gorgeous – be it round, square, triangle, rectangle or whatever odd shape it is, layer cakes will always, in my personal opinion, look a lot more pretty than cupcakes. They look more sophisticated and a lot more classy than cupcakes, don’t you think so? To me, cupcakes = cute while layer cakes = gorgeous!
2) Combination of flavours – I can have a layer cake with strawberry filling and a whipped cream frosting; or maybe a green tea filling with a dark chocolate frosting… You know, the possibilities are endless!
3) Distribution of filling and frosting – I don’t really like how cupcakes have a mountain of frosting on top of them and none in the middle. Because I can never put the whole cupcake in the mouth, most of the time I will start with lots of frosting and a little cake, and end up with plenty of cake and almost no frosting in the mouth. Layer cakes don’t have that problem, nope!
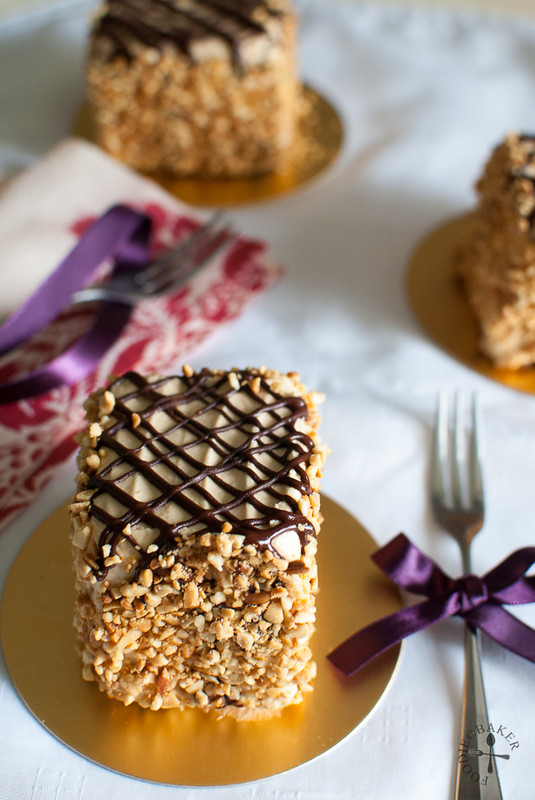
However, with that being said, I still bake cupcakes more often than layer cakes as, well, cupcakes are a lot easier to frost – I can just pipe the frosting on top and it would most likely look good. Whereas for layer cakes, I always take a super long time to frost them because I can never be satisfied with the exterior, and I always end up frosting the cake unevenly… oops!
Besides, typing the recipe for layer cakes can be a semi-nightmare – it’s really long! (You’ll know when you scroll to the recipe…)
So nowadays I only reserve baking layer cakes for birthdays, or when I’m really free, haha! This cake was baked for a close friend’s birthday in April (look how fast time flies!), the same friend whom I baked for last year.
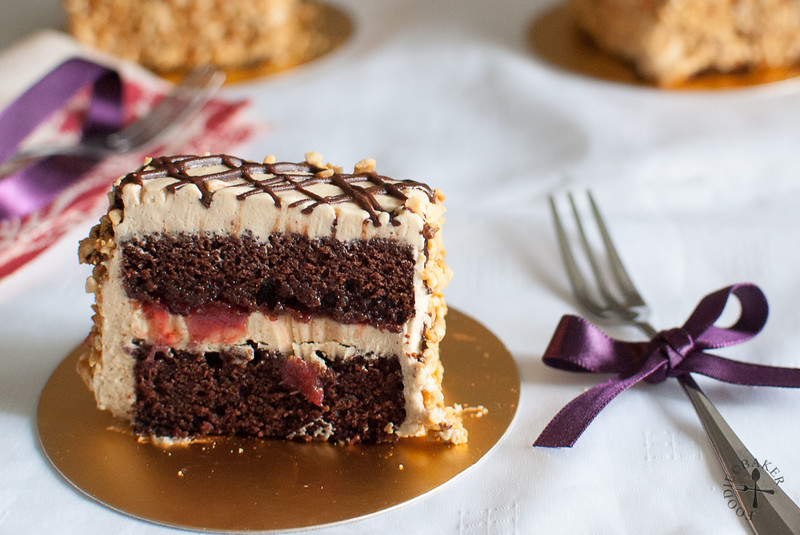
Yup, you can see the frosting is pretty uneven…
The Cake Base
Last year, the birthday girl got a very intense cake – it’s extremely chocolatey and we can only stomach a very thin slice after dinner. This year, I decided to opt for a lighter cake base – and I found this Devil’s Chocolate Cake recipe from Cupcake Bakeshop by Chockylit. It was so ridiculously easy that I cannot believe I haven’t tried it before – just dump everything together and beat until smooth – yes, that’s it!
The cake is a very moist and delicious. It is denser than genoise but not so heavy that you can only eat a little bit at a time.
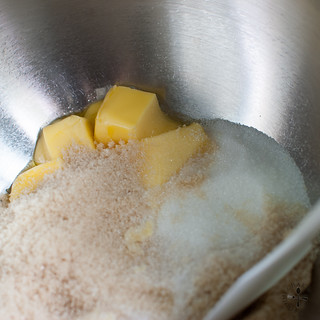 | 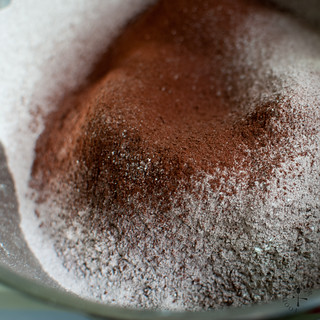 |
| 1) Measure brown sugar, caster sugar and softened butter in a large mixing bowl. | 2) Sift in flour, cocoa powder, baking powder, baking soda and salt into the mixing bowl. |
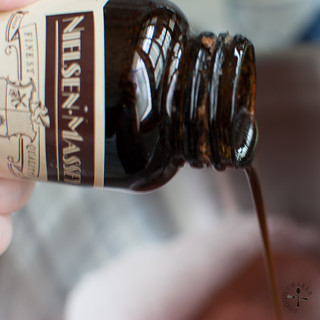 | 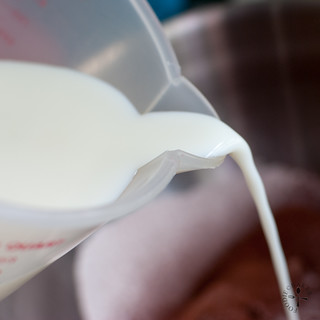 |
| 3) Add in a little vanilla (sorry photo’s blurred!) | 4) Followed by quite a lot of milk. |
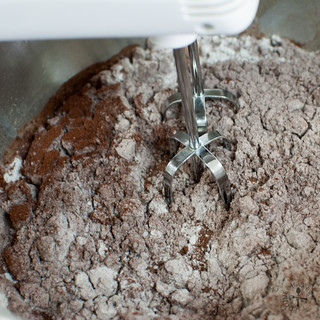 | 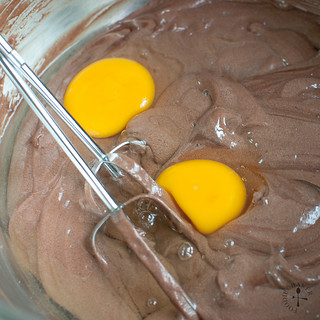 |
| 5) Whiz them together with a mixer! Keep it going until they are all nice and mixed together. | 6) Crack in 2 eggs and beat them in until fully incorporated. |
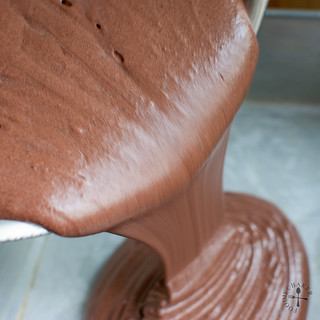 | 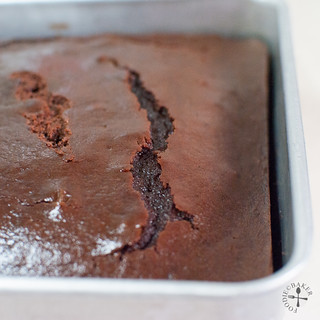 |
| 7) Pour into a greased and bottom-lined tin. | 8) Bake away! |
The Filling
When deciding what to fill and frost the cake with, I suddenly thought of peanut butter and jelly. It was just a totally random thought – I’ve never tried having my bread spread with peanut butter and jam before (I wonder why), but I thought it’s be really interesting to try the flavour combination.
I decided to make my own jam so that I thought that store-bought jam would have been too sweet. The jam recipe was made based on memory after watching a cooking show, which is a simple fruits : sugar ratio of 2:1, then acid was added after cooking it. The jam was probably a little too syrupy to be the jam that we normally consume (I guess pectin needs to be added so that the jam would set), but they are perfect for the cake!
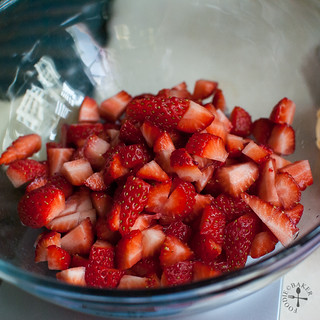 | 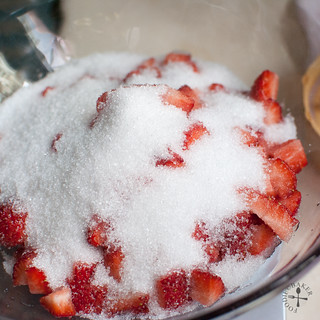 |
| 1) Chop up plenty of strawberries. | 2) Sprinkle with sugar and let them get friendly with the strawberries for 1 hour. |
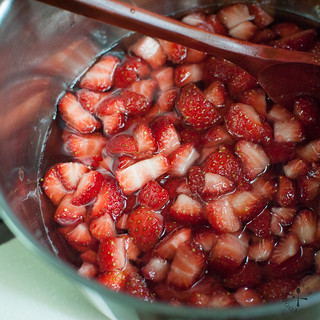 | 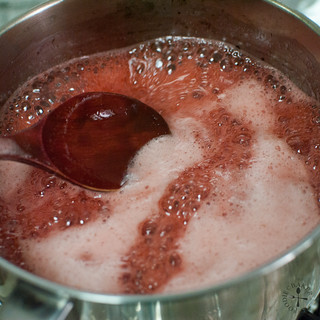 |
| 3) Transfer to a pot and bring to a boil. | 4) Keep the strawberries on a rolling boil and skim off the scum. |
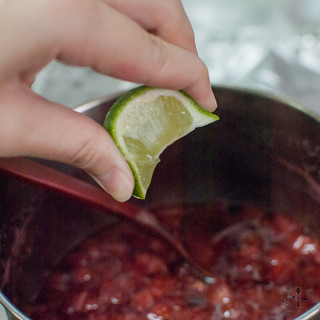 | 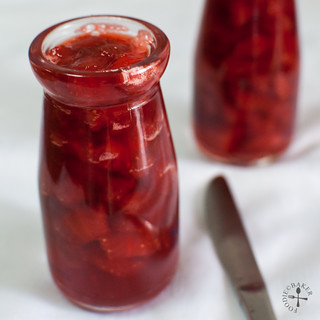 |
| 5) Remove from heat and squeeze in some lemon / lime juice (I used Tahitian lime!) | 6) And your jam is ready! |
The Assembly
Peanut butter frosting cannot be easier – only 3 main ingredients – butter, peanut butter and icing sugar. I added more icing sugar than I normally would to get a firmer frosting but adjusted the sweetness by adding more salt. The assembly part probably took up most of the time as I kept frosting again and again as I wasn’t very satisfied with how the cake looks like – one of the least enjoyable part of layer-cake making, if you ask me.
But, I ended up coating the sides with chopped peanuts, so there isn’t a need to ensure the frosting looks perfect…
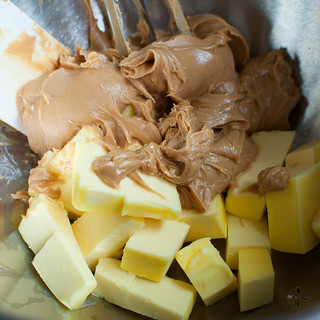 | 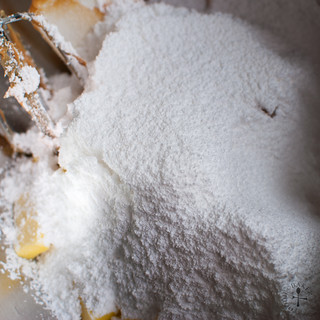 |
| 1) Cream peanut butter and unsalted butter in a large mixing bowl. | 2) Sift in icing sugar and beat it in. |
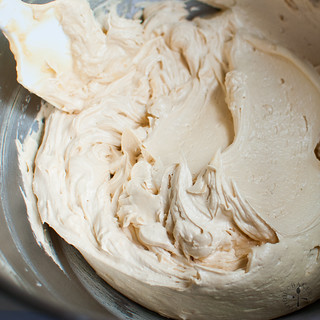 | 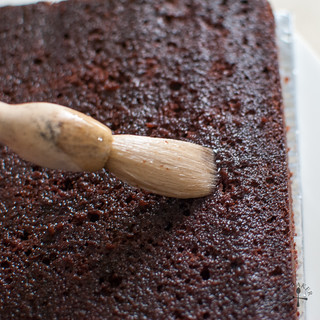 |
| 3) Beat until light and fluffy. Add in salt to adjust the sweetness. | 4) Brush a cake layer with syrup. |
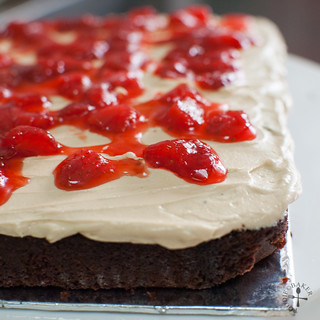 | 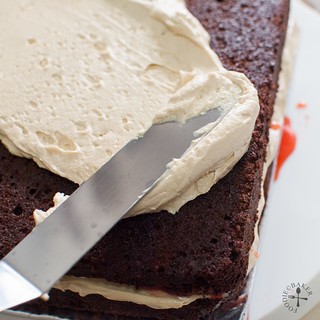 |
| 5) Spread 1/3 of the peanut butter frosting and top with plenty of strawberry jam. | 6) Top with another layer, brush with syrup and frost the cake. Decorate the cake with toasted, chopped peanuts and some melted chocolate. |

Nevertheless, the results are totally worth it! Slightly salty peanut butter frosting with the sweet jam and light, chocolatey cake base, definitely one prefect marriage for flavours! The birthday girl was also very pleased with the cake, which I’m very thankful for!
Devil's Chocolate Cake with Peanut Butter & Jam
INGREDIENTS
Devil's Chocolate Cake
- 115 grams unsalted butter, at room temperature (1/2 cup)
- 115 grams caster sugar, 1/2 cup
- 200 grams brown sugar, 1 cup
- 250 grams all-purpose flour, 2 cups
- 60 grams good quality cocoa powder, like Varlhona (1/2 cup)
- 1/2 teaspoon baking powder
- 1/4 teaspoon baking soda
- 1/8 teaspoon table salt, 1/4 teaspoon coarse salt
- 1 teaspoon vanilla extract
- 375 ml full-fat milk, at room temperature (1 1/2 cups)
- 2 large eggs
Strawberry Jam
- 125 grams strawberries, hulled and chopped / mashed / pureed
- 55 to 115 grams caster sugar, 1/4 to 1/2 cup
- 1 tablespoon lemon / lime juice, more if desired
Peanut Butter Frosting
- 225 grams unsalted butter, at room temperature (1 cup)
- 225 grams peanut butter, 1 cup
- 165 to 185 grams icing sugar, sifted (1 1/3 to 1 1/2 cups)
- 1/2 teaspoon table salt, more if desired
Assembly
- 1 Devil's Chocolate Cake
- 1 Strawberry Jam, 2 if you are making a 3-layer cake
- 1 Peanut Butter Frosting
- Chopped peanuts, toasted and cooled completely
- Melted chocolate, put into a small piping bag
INSTRUCTIONS
Devil's Chocolate Cake
- Preheat oven to 175 degrees Celsius. Grease a 7-inch square tin with butter and line the bottom with parchment paper. Set aside.
- In a large mixing bowl measure the unsalted butter, caster sugar and brown sugar. Sift in all-purpose flour, cocoa powder, baking soda, baking powder and salt. Add in vanilla extract and milk. Using an electric mixer, mix the mixture on low for 1 minute, then turn the speed up to high and beat for 2 minutes.
- Add in the 2 eggs and continue to beat on high for another minute.
- Transfer the batter to the cake tin and bang the tin twice on the table counter to release excess air bubbles. Bake for 50 minutes to 1 hour until a skewer inserted into the centre comes out clean. Do tent the cake midway through baking if you found the top on the verge of getting burnt (I tented mine after 40 minutes).
- Let the cake cool completely on the cake tin. Invert the cake out and split the cake into 2 or 3 layers, as desired.
Strawberry Jam
- Toss strawberries and caster sugar in a large bowl and set aside in a cool place for 1 hour.
- Transfer the strawberries and the juice to a medium pot. Turn the heat up to high and, stirring frequently, bring the strawberries to a rolling boil on high heat. Continue to stir and boil the strawberries until it is syrupy, skimming off the scum.
- Remove from heat and stir in lemon or lime juice, adding more if desired. Let cool completely. Spoon out a couple of tablespoons of the strawberry syrup (without the strawberry bits) and set aside.
Peanut Butter Frosting
- Cream butter and peanut butter in a large mixing bowl until mixed together. Add in the icing sugar and salt and beat until light, fluffy and creamy. Taste and add more icing sugar and/or salt if desired.
Assembly
- For a 2-layer cake: Lay the first cake layer on a cake board and brush the top with reserved strawberry syrup. Plop 1/3 of the peanut butter frosting on top and spread it evenly. Spoon strawberry jam all over.
- Brush one side of the second cake layer with strawberry syrup. Place the cake layer, syrup-side down. Brush the top with more strawberry syrup. Frost with remaining peanut butter frosting.
- For a 3-layer cake: Do the same as the 2-layer cake, except to fill the cake with only 1/4 of the peanut butter frosting, and do remember to double the strawberry jam recipe!
- Decorating: Coat the sides of the cake with toasted and cooled chopped peanuts or you can pipe decorations using reserved peanut butter frosting. Melt a little chocolate and pipe in a zig-zag pattern over the cake.
NOTES
- Jam adapted from one of the many TV cooking shows I've watched...
- Frosting adapted from Fifteen Spatulas
Super Naggy – Cake:
[1] All ingredients must be at room temperature before using – for items that are kept in the refrigerator, let it sit out on the table counter for 30 minutes before using them.
[2] Instead of baking the whole cake at one go, divide the batter into 2 or 3 cake tins (depending on how many layers you want in your cake). I’ve not done that so I’m not sure how long it’ll take to be baked, so do adjust the baking time accordingly.
[3] I baked the cake in a 7-inch tin, and had initially wanted to make a 3-layer cake. However, due to my poor cake cutting skills, my first layer was terribly uneven so I had to scrape the first layer and made a 2-layer cake instead. You can split the cake into either 2 or 3 layers, as desired.
[1] To make a separate syrup – combine equal amounts of sugar and water in a pot. Bring it to boil and simmer for 1 to 2 minutes. Remove from heat and let cool completely before using.
[2] This quantity is only enough for a 2-layer cake. If you are making a 3-layer cake, you will want to double the recipe so that you have enough strawberry jam to go around. In addition, this strawberry jam is pretty syrupy and liquid. I originally made a separate syrup to moisten the cake, but realised that the strawberry syrup would have been a better choice, so I have modified the recipe as such below. If you want the jam to be thicker, you might consider adding pectin, but I have not tried a recipe with pectin, so you might want to look for one online.
[3] You can use a combination of chopped, mashed and pureed strawberries for different textures. I only chopped them, because they are going to be part of the filling so I still wanted the bits to be visible in the cake. Use a pot that is tall enough when cooking the jam – the strawberry mixture shouldn’t come more than 3/4 of the pot’s height before boiling. Jam boils vigorously and if your pot is not tall enough, you might end up spilling strawberry jam everywhere.
[4] You can play cheat by using store-bought strawberry jam, but you’ll need to make your own syrup to moisten the cake later.
Super Naggy – Peanut Butter Frosting:
[1] I used more than 1/2 teaspoon of salt as I didn’t like my frosting to be too sweet. Do taste and adjust the sweetness as you make the frosting.
Super Naggy – Assembly:
[1] If you are not going to coat the sides with chopped peanuts, it’d be more advisable to frost a crumb coat over the cake. First, frost a thin layer of frosting all over the exterior of the cake, this is known as the crumb coat. Refrigerate for 30 minutes to 1 hour for the frosting to firm up. Remove from the refrigerator and frost with the remaining frosting. As the crumb coat will be firm after refrigerating, it will be easier to spread the remaining frosting without getting bits and pieces of cake all over.
[2] I actually wanted to make a chocolate ganache as the topping for the cake but somehow my ganache split (no idea why!) plus I ran out of cream to make a new batch of ganache, so I ended up taking the easy route and pipe chocolate on the cake, and this turned out to be an even better idea. Chocolate ganache might have been too rich and would have stole some of the limelight away from the peanut butter!
Carrie says
This cake looks beautiful and mouthwatering. Amazing detailed instructions too. Thanks for sharing it at Think Tank Thursday. I have featured it today. http://www.saving4six.com/2013/06/welcome-to-think-tank-thursday-34.html
Your Creative Timeout Party {No.85} says
[…] Devil’s Chocolate Cake with Peanut Butter and Jam from Food Is My […]
Trish @ Mom On Timeout says
I am SO impressed with every single component of this cake! Not only is it GORGEOUS but the filling and the cake itself look and sound absolutely mouth-watering. Amazing! Pinned and featuring tonight!
Janine says
OMG I LOVE the idea of salted peanuts on the side! Totally reminds me of those old school cakes my mom used to buy with diced peanuts or chocolate rice. Your cake top reminds me of that totally! And chocolate and peanut butter is my fave too!
kitchen flavours says
Hi Jasline,,
Your cake is gorgeous! I do not like to frost layer cakes, as I am a very messy person when it comes to frosting! But I do not mind eating them! Lucky birthday gal!
Marnelli says
Your cake looks absolutely incredible 😀 I love layer cakes too but the ones I made before always looked a bit wonky haha. Love how you decorated it
yummychunklet says
Delicious looking cake with great pb&j twists!
ChgoJohn says
You really are expert in preparing cakes, Jasline. This is a real beauty and how creative to trim the cake to create more than one. I love the flavor combinations, too, and that you made your own strawberry jam. FYI When making jam, a teaspoon of butter is supposed to limit the amount of foam that develops when simmering the berries.
Thank you for taking the time to write, photograph, and share your recipe.
apuginthekitchen says
Gorgeous, I too love layer cake, and your individual cakes are spectacular. PB&J and chocolate, love it!! I know you were not satisfied with the appearance but looking at them from my perspective, they are beautiful, if I saw them in a bakery I would buy one for sure.